Tuesday 28 July 2015

Living room ceiling painted. Phew!

Yesterday, Brad the painter, came and started the living room ceiling. Poor guy had sore shoulders and worn out fingers from filing all the hundreds of tiny nail holes. Then today he came back and sanded and painted it all. 

I am so happy with how it looks now. So much better than I thought it would.

Before:
 After:


It cost us $650 including paint, of which we still have about 7 litres left. Hopefully enough to finish upstairs.

Money well spent I think!
Cheers,
Nat

Sunday 26 July 2015

Fireplace surround, wardrobe and the blue room

We have come to the end of yet another winter weekend. I am happy to say that it was a productive one. Our plan at the moment is to use the weekends to do the most noisy work involving saws and nail guns; and the weekday evenings doing the quieter stuff.

Saturday saw Dave working on the fireplace surround and mantle piece. I started with my inspiration picture and Dave did some measurements and bought the timber. This was our favourite fireplace that we found on Pinterest.
  this seems like an easy enough fireplace diy. i like the possibility of take the surround to the ceiling since so that it stands out.
 We bought pine boards and routed out the square shapes.
 Glued all the pieces together and ....
Sam and Heidi helping.
..voila. Minus the actual mantle and the bits that wrap around back the wall. We need to find a piece of pine that is thick enough.
Meanwhile, upstairs, I was prepping Andrew's bedroom walls and ceiling. Have you seen these cool sander? A big sanding disk that goes onto the end of your painting pole. Makes the job so much easier.
We had another hard job of choosing the paint colour. It certainly wasn't as hard as choosing a green.
This was the winner. It is a British Paints colour called Peter's Palace.

Doesn't she look so pretty in the tin.

Took me about 3 hours to cut in.


Then after dinner I rolled it. I think underneath the chair rail, we will do the same grey as in Sam's room.
In the neighbouring room, Dave got started on the wardrobe fittings for Sammy's room.


So things are really looking more finished now.

Tomorrow the painter will start work on the monster job of painting the downstairs lining board ceiling.

What did you do this weekend?

Cheers,
Nat

Sunday 19 July 2015

The green room

Phew! One room down, many more to go. I think this was a good practice room and I think that I will improve with the next one.

This afternoon I finished the final coat on the trim in Sam's room. Then I did a few touch ups, and voila, done!
Valspar That's Bright (green) and Drizzling (grey). With chair rail and vj panel ceiling

Valspar That's Bright (green) and Drizzling (grey). With chair rail and vj panel ceiling. Bespoke window architraves

Looking back out to the retreat. Still need to build the wardrobe internal shelves etc
Meanwhile, downstairs, David finished the pine strapping around the pitched ceiling part of the living room near the fireplace.

Strapping around the lining board ceiling finished

 Then he added the detail under the window sils (ovolo profile) for all downstairs windows.
 Also, the insert mould above the windows.
Insert mould trim above windows

Large window downstairs with trim finished.
 One thing he did last week was to add the architraves to the doors and highlight windows. He had to take the top windows out and adjust them first though.
Architraves around the bi-fold doors
We just sat down tonight, after putting the kids to bed, and wrote out a to do list. I feel more organised now and am looking forward to crossing more items of the list soon.

Cheers,
Nat


Thursday 16 July 2015

Winter hibernating

The past 2 weeks it has been pretty cold here in Melbourne. So much so that on the really cold days I need to have the gas log fire and the reverse cycle heating going. This results in both Dave and I going into a slight hibernation mode. Instead of working after work, we have been snuggling under the blankets or sitting in front of the fire. Although last night we did do some painting and gap filling for an our after the kids were in bed.

Tomorrow Dave is driving over to The Door Store, far away on the other side of Melbourne, to pick up the wardrobe doors and bedroom doors for upstairs. We will just be getting Edwardian 3 panel doors in solid timber (Dave refuses to buy mdf) like this:

http://i.ebayimg.com/00/s/MTYwMFg3MTA=/z/cJIAAOSwd4tT6uuT/$_35.JPG 
 I am hoping they come pre-primed, but I doubt it.

I have finished the final coat of green and grey on Sam's room. Now have to begin on the trim which I hope to get finished this weekend. Might be wishful thinking though.

On Monday week, we have hired a painter to come and fill, sand and paint all the lining boards on the ceiling downstairs. Phew!! I was absolutely dreading that job. I think that will be money well spent.

Cheers,
Nat

Wednesday 8 July 2015

Colour at last

So my aim for this week was to get at least one coat of green onto Sam's bedroom walls.

Done!

It is just the first coat so looks a big mess because it is such a dark colour. But the grey underneath looks a lot better with just one coat.

Cutting in the green:


I was sent home sick from work today, but I just couldn't sit still, so sat with a paint brush in hand and did some therapeutic cutting in of the grey.

Valspar That's Bright and Drizzling
 And here is the grey rolled with one coat.
These last photos are a better representation of the colour green. The night time shots make it more yellow than it is actually.

Cheers,
Nat

Sunday 5 July 2015

Taking risks

If you know me in real life, you would know that I am typically not one to take risks. I am a 'go with the flow' type of person, a Pisces, happy to swim through life and roll with the waves. I don't think that will ever change. I suppose that this is reflected in my interior stylings up to this point. My house is pretty beige. I have had spurts of red, navy and a pink Christmas tree but that is about it
I am using the decorating of my son's rooms as a chance to step out of my comfort zone and embrace some boldness. In the house at the moment we do have a few different colours. The hallway is a light yellow (which I do love with the fresh white mouldings) and our bedroom is a soft green. And man was it hard to pick a nice green. Once again I find myself having to pick a green for a bedroom. My middle son, 6 year old Sam, wants a green room because it is his favourite colour. Urgh... here we go again, trying to pick a green.

We did three test pots in the wardrobe. I hated them all.

I searched high and low on the web and in my books for a good green that isn't too babyish and isn't too daggy.

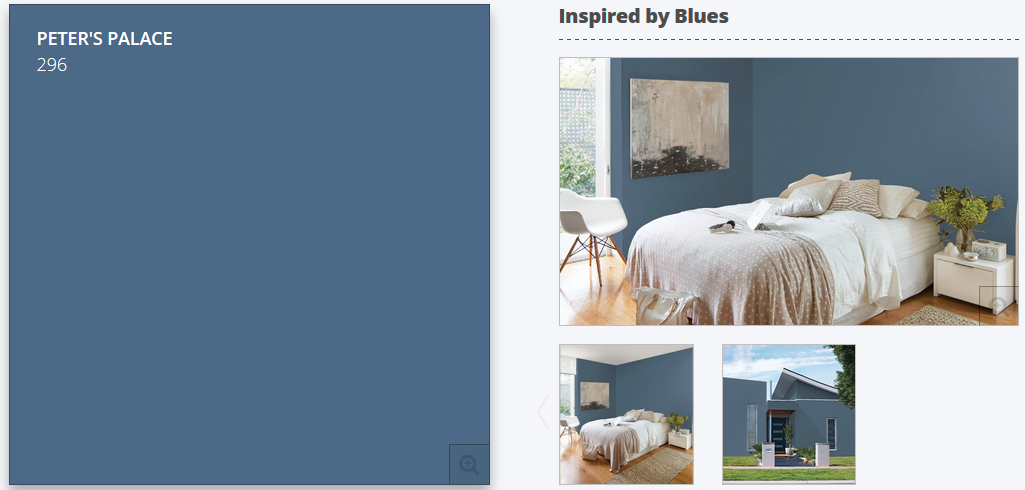
Then I found this and fell in love.
Vintage Trunk Dresser, Transitional, boy's room, Erin Gates Design
From this Elements of Style website
I did email to ask what the colour the walls were but I didn't get a reply. So I trotted off to Masters to get a free sample pot (offer for a limited time only). I found a gorgeous colour called "That's Bright" by Valspar.

 While it probably isn't the exact green (I think the one in the picture is more yellow based), I just loved this colour so much. It is very pretty. Also, Sam loved it too.
I bought the Valspar 4ltr in low sheen and got a 20% discount yesterday in their sale. I also got a light grey to go under picture rail. So it will be green above and grey below.
The grey I chose to go with it is called 'Drizzling' also by Valspar.
 I just hope it isn't too dark, but it looked good from the swatch I took home.
The trim and the chair rail will be painted in a white called 'The Hamptons' also by Valspar. Gee I should be getting sponsored by Valspar with all their colour I am using huh! I am really loving the depth of colour that they seem to have in the paints. I am yet to use it on the walls so here's hoping they look as good in real life.

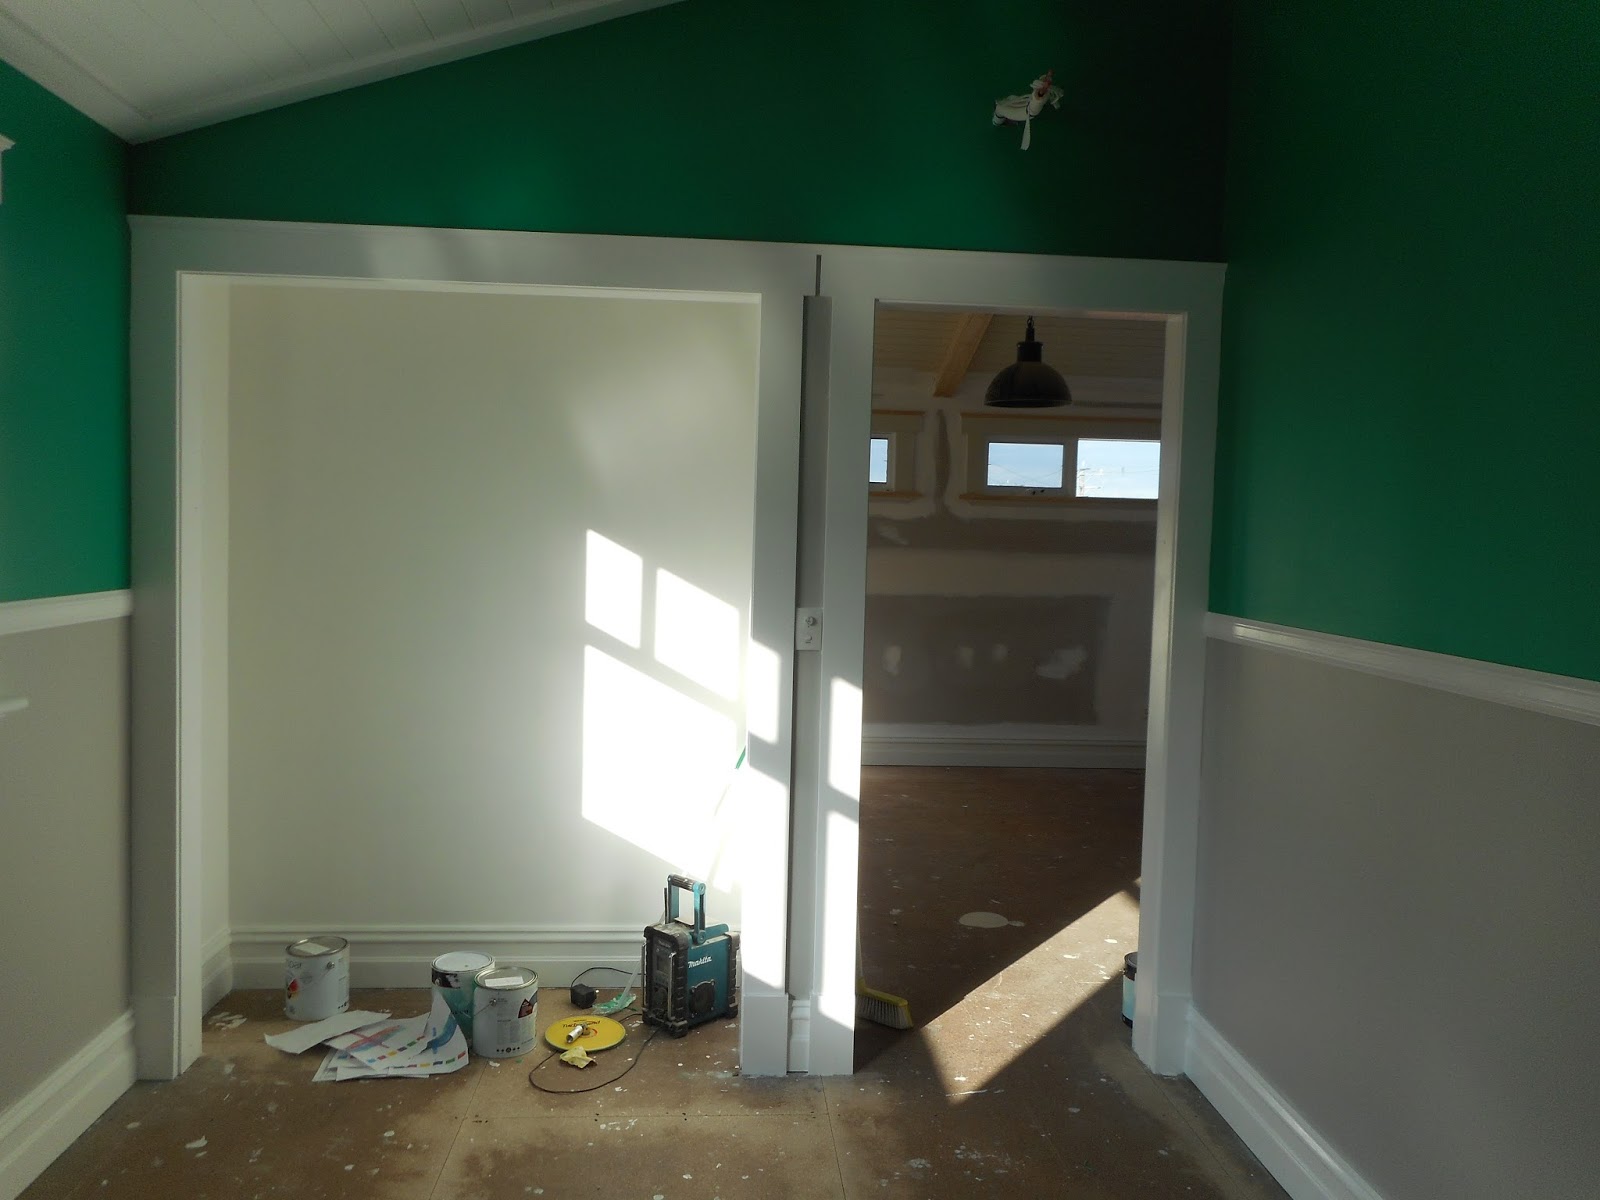
If you follow me on Facebook you may have seen my test colour on the wall.

I think it will go really well with the navy doona cover he currently has. But it could also go really well with black and white like this:
From spearmint baby.

I am very excited to be making such a brave statement. I am hoping to have at least one coat on by Friday. Last night I had finished filling, gaping and sanding the ceiling and walls and had cut in the second coat of primer on the ceiling.

Cheers,
Nat